
honeywell pro 6000 installation manual pdf
Welcome to the Honeywell Pro 6000 Installation Manual, your guide to successfully installing and configuring the thermostat. This manual covers system requirements, wiring, and troubleshooting for optimal performance.
Overview of the Honeywell Pro 6000 Thermostat
The Honeywell Pro 6000 is a programmable thermostat designed for efficient temperature control in residential and commercial settings. It offers advanced features like auto mode, energy-saving capabilities, and compatibility with heating and cooling systems. The FocusPRO TH6000 Series ensures precise temperature management, while its user-friendly interface simplifies installation and operation. This thermostat supports wireless connectivity for remote control and integrates seamlessly with existing HVAC systems. The manual provides detailed guidance for installers to configure the device according to specific system requirements, ensuring optimal performance and energy efficiency.
Importance of Following the Installation Manual
Adhering to the Honeywell Pro 6000 Installation Manual ensures proper setup and functionality of the thermostat. Deviating from the guidelines can lead to system errors or communication issues, as seen in troubleshooting scenarios. The manual provides step-by-step instructions to avoid installation-related errors and maintain efficient performance. Following the manual also ensures compatibility with heating and cooling systems, preventing potential malfunctions. Proper installation guarantees energy efficiency, user safety, and compliance with manufacturer recommendations, maximizing the thermostat’s capabilities and extending its lifespan.
System Requirements and Compatibility
The Honeywell Pro 6000 thermostat is designed to work with various heating and cooling systems, ensuring compatibility and efficient performance across different setups and configurations.
Heating and Cooling System Compatibility
The Honeywell Pro 6000 thermostat is compatible with a wide range of heating and cooling systems, including forced air, heat pumps, and radiant flooring. It supports both single-stage and multi-stage systems, ensuring precise temperature control. The thermostat can be configured to work with gas, electric, or oil-based heating systems. Additionally, it is compatible with most HVAC systems, making it a versatile choice for various home setups. Proper configuration ensures optimal performance and energy efficiency. Always refer to the manual for specific system requirements.
Electrical Requirements for Installation
The Honeywell Pro 6000 thermostat requires a 24VAC power supply, commonly provided by most HVAC systems. Ensure the system is compatible with the thermostat’s electrical specifications. Wiring should be properly connected to avoid short circuits. The thermostat is designed to work with standard heating and cooling systems, requiring minimal electrical adjustments. Always shut off power before installation to prevent electrical hazards. Verify voltage levels using a multimeter if necessary. Proper electrical setup ensures safe and efficient operation of the device.
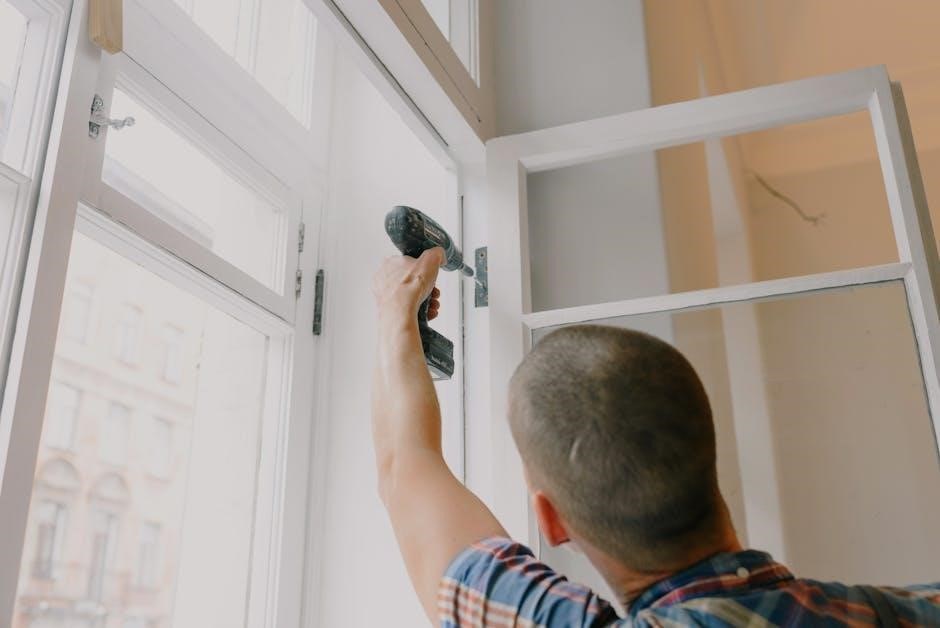
Pre-Installation Steps
Before installing the Honeywell Pro 6000, review the manual, ensure system compatibility, and gather all necessary tools and materials for a smooth setup process.
Gathering Necessary Tools and Materials
To ensure a seamless installation of the Honeywell Pro 6000 thermostat, gather essential tools and materials. These include a screwdriver, drill bits, wire strippers, and a voltage tester. Additionally, prepare wall anchors and any required mounting hardware. Make sure to have the thermostat unit, wallplate, and wiring harness ready. Refer to the manual for specific compatibility and safety guidelines before starting the process to avoid any installation-related issues.
Understanding the Thermostat Wiring Diagram
Familiarizing yourself with the Honeywell Pro 6000 wiring diagram is crucial for a correct installation. The diagram outlines the connections between the thermostat and your HVAC system, such as the R, W, Y, G, and C terminals. Ensure proper identification of each wire’s function to avoid errors. Refer to the manual’s wiring chart to confirm compatibility with your system type, whether it’s a heat pump, gas furnace, or other configurations. This step ensures safe and efficient thermostat operation.
System Configuration During Installation
Proper system configuration ensures the Honeywell Pro 6000 operates seamlessly with your HVAC setup. Follow manual steps to set heating/cooling modes and enable advanced features like Auto Mode for efficient temperature control.
Configuring the Thermostat for Heating/Cooling Systems
Press the SYSTEM button to select the desired mode: Heat, Cool, or Off. Ensure the thermostat settings match your HVAC system type. For precise control, set the equipment type under Installer Settings. Refer to the manual for detailed configuration steps. Proper setup ensures efficient operation and energy savings. Always save your settings after configuration to maintain your preferences.
Setting Up Advanced Features Like Auto Mode
To enable Auto Mode, navigate to Installer Settings and select the automatic changeover option. Press the SYSTEM button, choose Auto, and configure the temperature range for seamless switching between heating and cooling. Ensure the settings are saved to maintain optimal performance. Auto Mode enhances energy efficiency by automatically adjusting based on temperature demands, providing a balanced and comfortable environment year-round.

Wiring and Connections
This section provides detailed instructions for wiring and proper connections, including input configurations and system compatibility, ensuring a safe and efficient installation process.
Input Wiring Configuration (Normally Open/Normally Closed)
Configure input wiring as either normally open (NO) or normally closed (NC) based on system requirements. NO contacts connect when activated, while NC contacts disconnect. Proper configuration ensures accurate thermostat operation. Refer to the wiring diagram for specific terminal connections. Use appropriate tools to secure wires, avoiding loose connections. Double-check configurations to prevent installation errors. This setup is critical for reliable communication between the thermostat and heating/cooling systems, ensuring optimal performance and energy efficiency.
Connecting the Thermostat to the Heating/Cooling System
Connect the Honeywell Pro 6000 thermostat to your heating or cooling system by matching the appropriate wires to the designated terminals. Ensure all connections are secure to prevent signal loss. Refer to the wiring diagram for specific terminal assignments. Once connected, configure the system settings to match your equipment type. Proper connections are essential for accurate temperature control and efficient system operation. Double-check all wiring before powering on to avoid installation errors and ensure reliable performance.
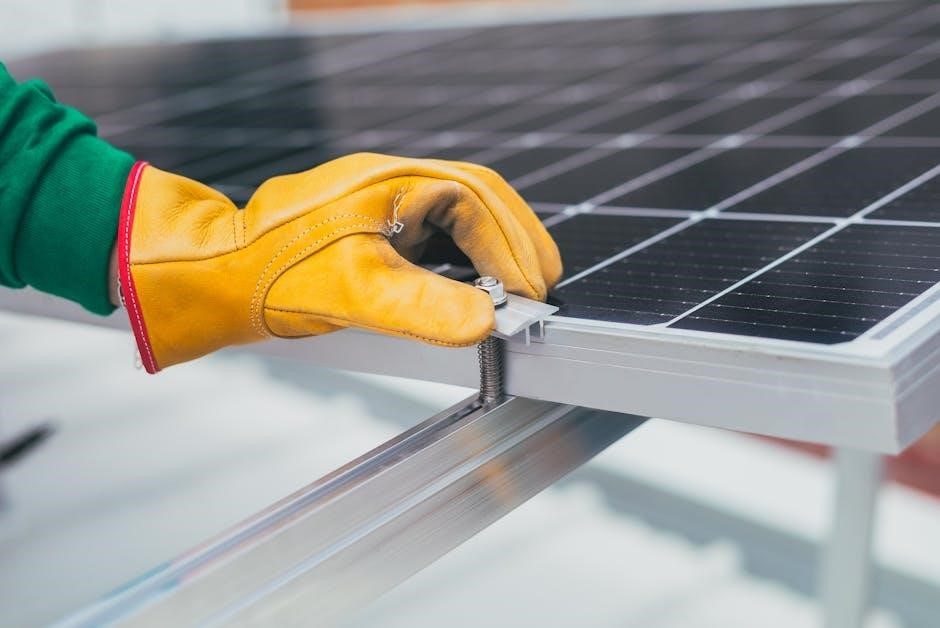
Wallplate Installation
Mount the wallplate securely to the wall, ensuring it is level and properly aligned. Remove the battery holder and follow the provided directions for accurate installation.
Removing the Wallplate and Preparing for Mounting
Begin by carefully detaching the wallplate from the thermostat. Gently pull it away to avoid damage. Next, remove the battery holder to access the mounting area. Ensure the wall surface is clean, level, and free from obstructions. Use the provided template or alignment guide to mark the wall for precise drilling. Double-check the placement before securing the wallplate to ensure proper fit and functionality. Refer to the manual for specific torque and alignment instructions to prevent installation errors.
Securing the Wallplate to the Wall
Align the wallplate with the pre-marked area on the wall, ensuring it is level and properly positioned. Drill pilot holes if necessary, then insert wall anchors to provide a secure base. Screw the wallplate firmly into place using the provided screws, ensuring they are tightened to the recommended torque specification. Double-check the alignment and levelness before finalizing. Once secured, verify that the wallplate is stable and ready for thermostat mounting. Refer to the manual for specific torque and alignment guidelines to ensure a proper fit.

Battery Installation and Management
This section guides you through installing and managing batteries for the Honeywell Pro 6000 thermostat, ensuring continuous operation and optimal performance by following specific procedures.
Installing Batteries for the First Time
First-time battery installation for the Honeywell Pro 6000 thermostat is straightforward. Open the battery compartment located at the back or bottom of the thermostat. Insert two AA alkaline batteries, ensuring the positive terminals face upwards. Close the compartment securely to maintain connectivity. After installation, the thermostat should power on, allowing you to proceed with configuration. Proper battery placement ensures reliable performance and prevents system malfunctions. Always use recommended battery types for optimal results.
Replacing Batteries and Maintaining Power
To replace batteries, open the compartment and remove the old ones. Insert two new AA alkaline batteries, ensuring correct polarity. Close securely to maintain power. The thermostat may show a low battery warning when replacement is needed. Replace batteries promptly to avoid system shutdown. Use only recommended battery types for reliable performance. Proper maintenance ensures continuous operation and prevents data loss. Always check expiration dates for optimal results. Regular replacements guarantee uninterrupted functionality and energy efficiency.
Troubleshooting Common Issues
Identify and resolve common issues like connectivity problems or display malfunctions. Reset the thermostat, check wiring connections, and ensure proper power supply for optimal functionality and performance.
Resolving Communication Errors Between Thermostat and EIM
Communication errors between the Honeywell Pro 6000 thermostat and the Energy Information Module (EIM) can disrupt system functionality. To resolve these issues, first, ensure all wiring connections are secure and properly configured. Check for any loose or damaged wires that may interfere with data transmission. Reset both the thermostat and EIM by disconnecting power for 30 seconds. After restarting, verify that both devices are synced and functioning correctly. If issues persist, consult the troubleshooting section of the manual for advanced diagnostic steps or contact Honeywell support for assistance.
Addressing Installation-Related Errors
Installation-related errors with the Honeywell Pro 6000 thermostat often stem from incorrect wiring or system configuration. Ensure all connections match the wiring diagram provided in the manual. Verify that the thermostat is compatible with your HVAC system. If issues arise, such as the thermostat not powering on, check the battery installation and electrical connections. Refer to the troubleshooting guide for step-by-step solutions or contact Honeywell customer support for further assistance to resolve these issues efficiently.
User Manual and Additional Resources
The Honeywell Pro 6000 user manual provides detailed instructions for installation, configuration, and troubleshooting. Additional resources, such as online support and customer service, are available for assistance.
Navigating the Honeywell Pro 6000 User Guide
The Honeywell Pro 6000 user guide is structured to help users effortlessly navigate through installation, configuration, and troubleshooting. It begins with an introduction to the thermostat’s features, followed by step-by-step installation instructions. The guide also covers advanced settings, such as programmable modes and energy-saving options. Troubleshooting sections address common issues, ensuring users can resolve problems quickly. Additional resources, like diagrams and FAQs, enhance understanding and ease of use for optimal performance.
Accessing Online Support and Customer Service
For assistance with the Honeywell Pro 6000, visit Honeywell’s official customer service website. Here, you can access the installation manual, troubleshooting guides, and FAQs. Additionally, users can contact Honeywell’s toll-free customer support at 1-800-468-1502 for personalized help. Online resources include live chat, detailed product manuals, and video tutorials to ensure a smooth installation and operation experience.
Installer Setup and Advanced Configuration
Configure the Honeywell Pro 6000 to match your heating/cooling system and customize settings for optimal performance using advanced installer options.
Configuring the Thermostat for Specific Heating/Cooling Systems
Press the SYSTEM button to select the desired mode: Heat, Cool, or Off. Configure the thermostat to match your system type by adjusting settings like heating stages or cooling type. Ensure proper input wiring configuration (normally open or closed) for precise control. Advanced features such as auto mode can be enabled for automated switching between heating and cooling based on temperature. Refer to the manual for detailed steps to optimize performance for your specific HVAC setup.
Using Installer Settings for Customized Performance
Access the installer settings menu to customize the thermostat’s performance for your specific HVAC system. Configure heating and cooling stages, sensor options, and advanced features like adaptive recovery. These settings allow precise control over system operation, ensuring optimal energy efficiency and comfort. Proper configuration of installer settings is crucial for reliable performance and compatibility with your heating or cooling setup. Refer to the manual for detailed instructions on adjusting these parameters effectively.
Congratulations on completing the Honeywell Pro 6000 installation. Ensure all connections and settings are verified for proper operation. This thermostat maximizes energy efficiency and comfort.
Final Checks and Ensuring Proper Installation
After installation, perform final checks to ensure the Honeywell Pro 6000 operates correctly. Verify all wiring connections, system configuration, and battery installation. Test heating, cooling, and auto modes to confirm functionality. Check for any error messages and refer to the troubleshooting section if issues arise. Ensure the wallplate is securely mounted and settings are saved. Proper installation guarantees optimal performance and energy efficiency for your home comfort system.
Maximizing Energy Efficiency with the Honeywell Pro 6000
The Honeywell Pro 6000 is designed to enhance energy efficiency through programmable scheduling and advanced features. Utilize energy-saving modes to optimize heating and cooling usage. Smart home integration allows seamless control, reducing energy waste. Regularly update settings and maintain proper installation to ensure peak performance. By leveraging these features, you can lower utility bills while maintaining comfort, making the Honeywell Pro 6000 a smart choice for energy-conscious homeowners.